This workshop will teach you how to create basic web pages using HTML and CSS.
Difficulty: Intermediate workshop
Contents
0 Introduction
Most pages on the World Wide Web are text documents written in HTML (HyperText Markup Language). A 'stylesheet language' called CSS (Cascading Style Sheets) is often used to change the visuals of the HTML.
In this workshop, we'll learn what both of these languages do, and use them to create our own web pages
The files for this workshop can be found at bit.ly/mcrraspjam
What you'll need
About these booklets
The aim of these booklets is to help you attempt these workshops at home, and to explain concepts in more detail than at the workshop. You don't need to follow these booklets during the workshop, but you can if you'd like to.
When you need to make changes to your code, they'll be presented in listings like the example below:
Everything else
To allow modification and redistribution of our workshop notes, they are distributed under the CC BY-SA 4.0 License.
If you get stuck, find errors or have feedback about these booklets, please email me at: jam@jackjkelly.com
1 Hello, World!
Boot your computer to the desktop. If you're using a Raspberry Pi that does not log in automatically, the default login is:
username: pi
password: raspberry
Once at the desktop, open the text editor of your choice. We will be using Geany, which can be found in the application menu of Raspbian under Programming → Geany IDE
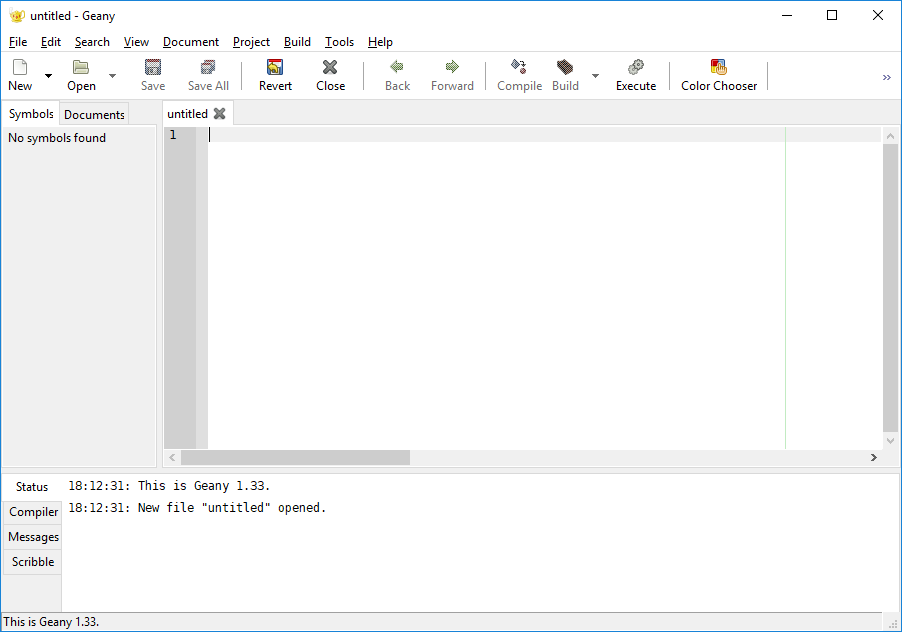
The Geany IDE window (shown on Windows)
The Geany IDE window will open, with a new file already opened. Click File → Save As... and save the empty file inside the workshop 19 folder ~/McrRaspJam
Writing the content with HTML
HTML is a markup language, which means that it determines the content of a webpage. The following code creates a very simple webpage with a single text message:
You can try opening the .html file in a web browser now, and you should see 'Hello, World!' appear on screen in the tab that opens.
What the code means
Let's go over the code we just wrote line-by-line, and see what everything does. Following the first line (which just tells any program reading the file what it is) we have our first tag, called html.
Tags almost always come in pairs. The first <html> opens the tag, and the second, which has a /, closes the tag. We know that anything between these tags is part of the HTML code of our webpage.
Next, we have two sets of tags, <head> and <body>. The 'head' elements are anything that won't be drawn on the page, whereas the body element should all appear visually on the page.
The text 'Hello, World!' has been placed inside the <body> tag, so it appears on screen.
Changing the look with CSS
We've seen that HTML determines what appears on-screen in a webpage. CSS is a style sheet language, which means it takes a HTML page and applys visual styles to it, allowing us to change the layout and presentation of our pages.
Create a new file and save it in the same folder as your html file with the name style.css. We will write our first rule as follows:
In order to make our CSS apply to our webpage, we need to tell the HTML code to load the stylesheet. We do that by adding a special tag to the page head.
Now, when you save and reload the page, several things should have changed. What 3 things have happened?
In CSS, parts of the HTML code are chosen using selectors, and then rules are applied to anything that matches the selector. In our small piece of CSS, the selector is body. This looks for all body tags (of which there is only one) and applys the rules to them.
The text in our page is inside the body tag, so if we added a rule to change it, all text we added to our site would be changed. Let's add more tags in our HTML, so we can style specific bits of text.
h1 means 'Heading 1', and suggests that the text within is the page title. We can add the following CSS to change the size and colour of the text. (watch out for the american spelling 'color')
We added an 'id' to our <span> tag which we can use to style just one tag instead of all span tags on the page. To style an id instead of a tag, start the selector with #.
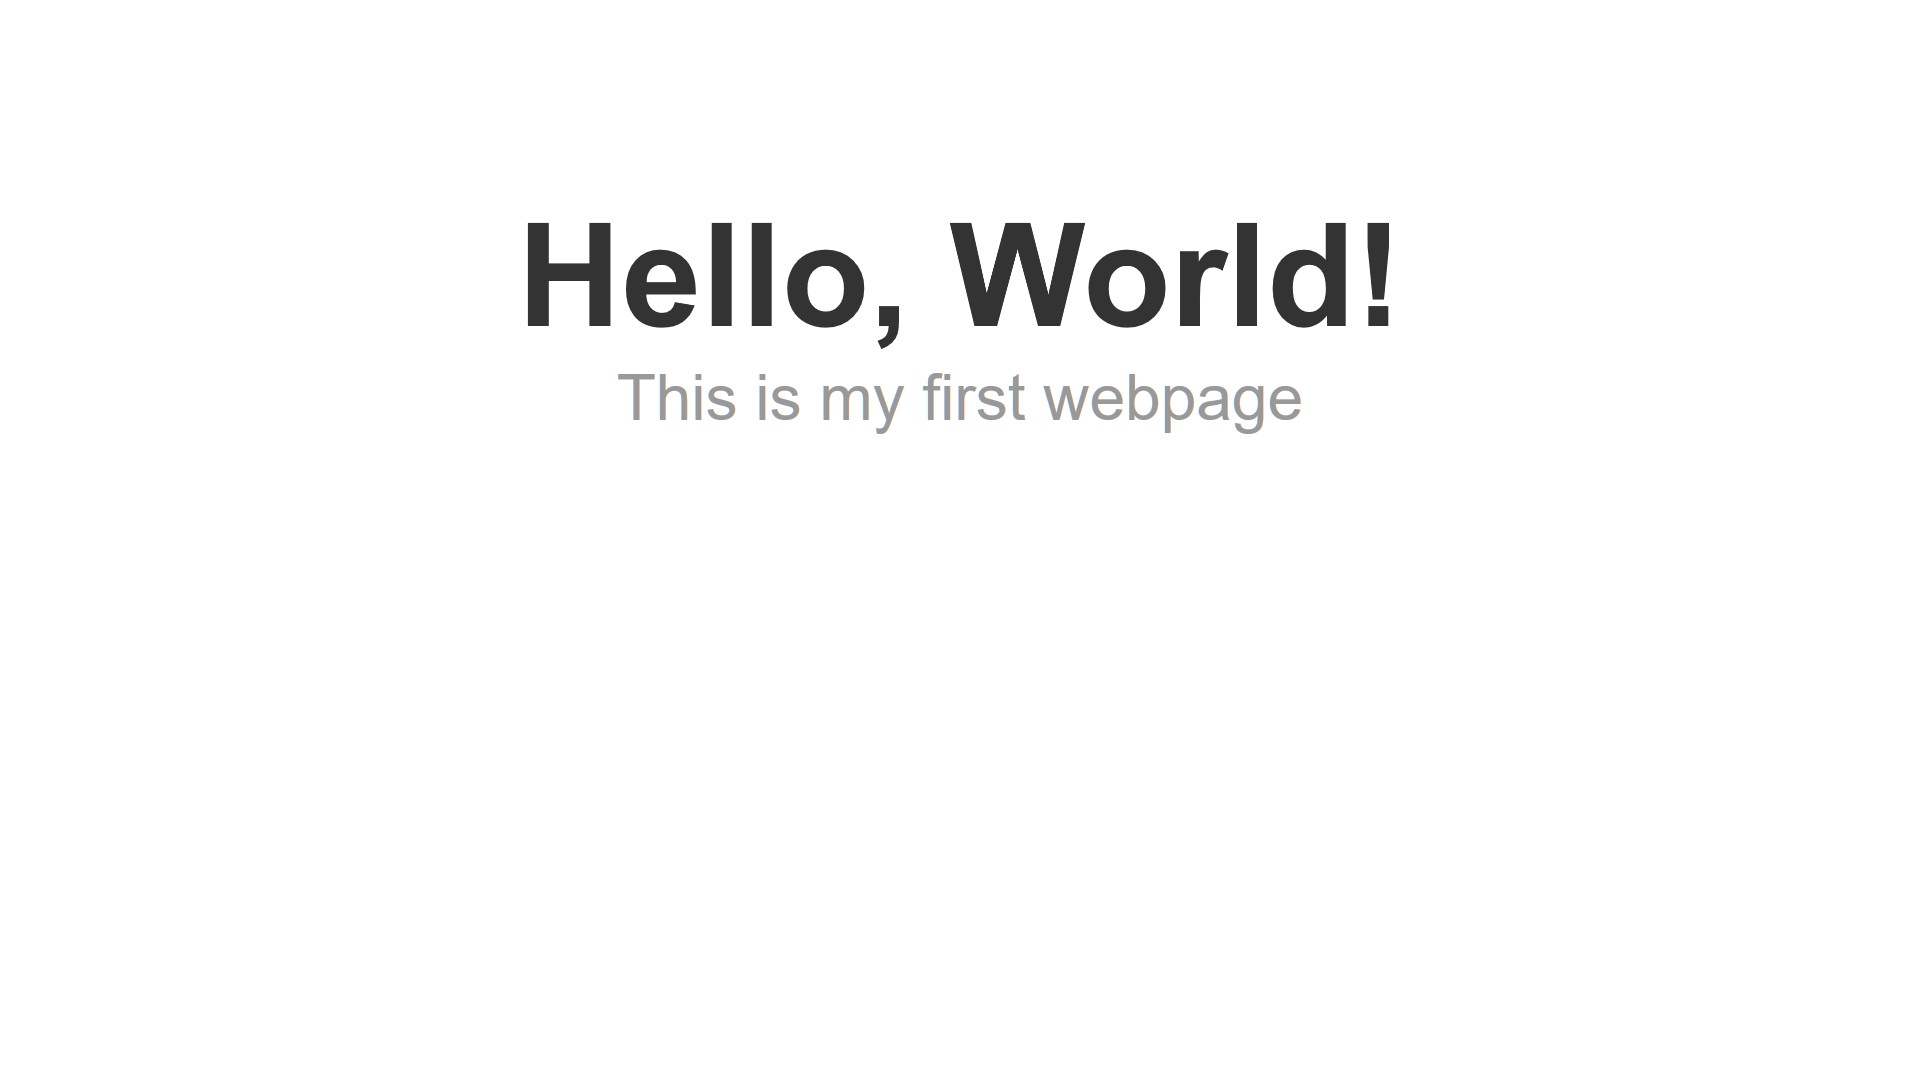
The completed 'Hello, World!'' webpage
2 Developer Tools
Read more about developer tools on the online notes
3 Styling a Webpage
Let's try creating a stylesheet for a more complete web page. Go to ~/McrRaspJam
This file is a truncated copy of the Wikipedia entry for the Raspberry Pi. The page has the same information as the Wikipedia page it came from, but it currently has no stylesheet applied to it. We're going to design our own stylesheet for the page.
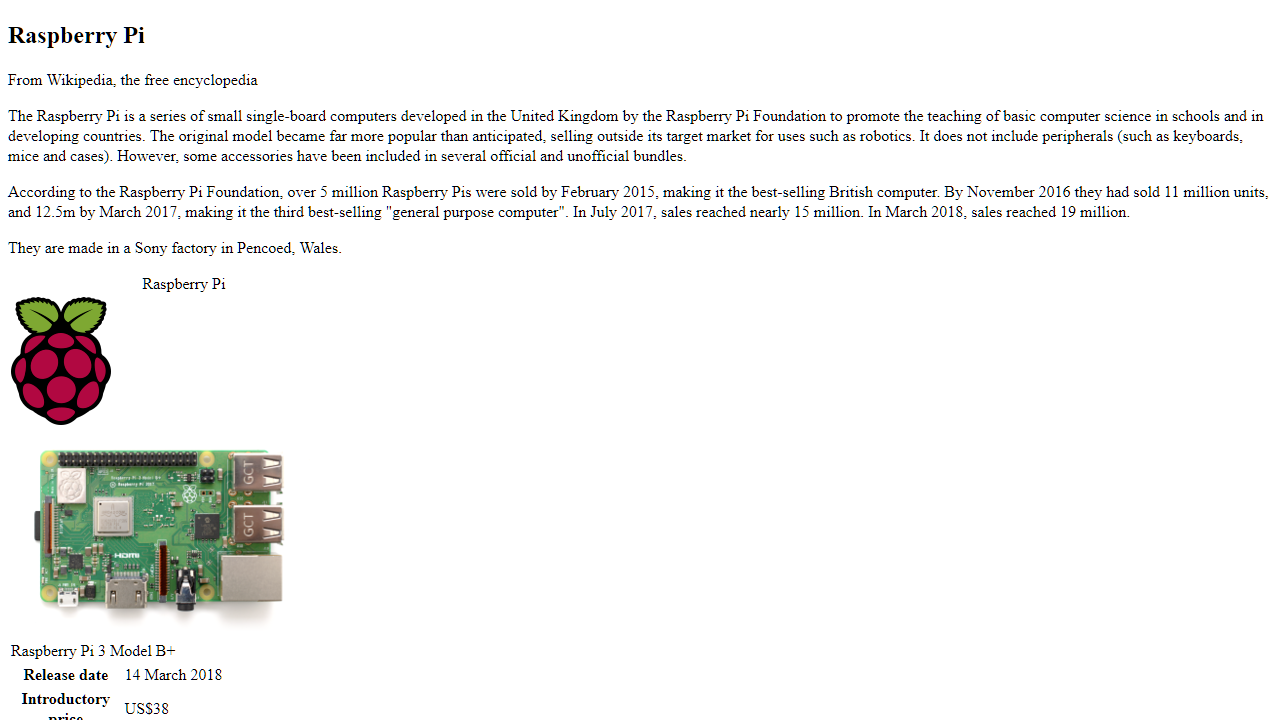
The copy of Wikipedia's Raspberry Pi entry
Start by taking a look at the head of the HTML file. You can see that a stylesheet should be being loaded with the line <link rel="stylesheet" href="style.css"> but there isn't a style.css file in the folder yet. Create a new file called style.css and open it in your text editor.
Page Layout
A typical layout for articles on the web is to display the text in a single column, placed in the centre of the screen.
Immediately inside the <html> tag in our webpage is the <body> tag, which we will style as the page itself.
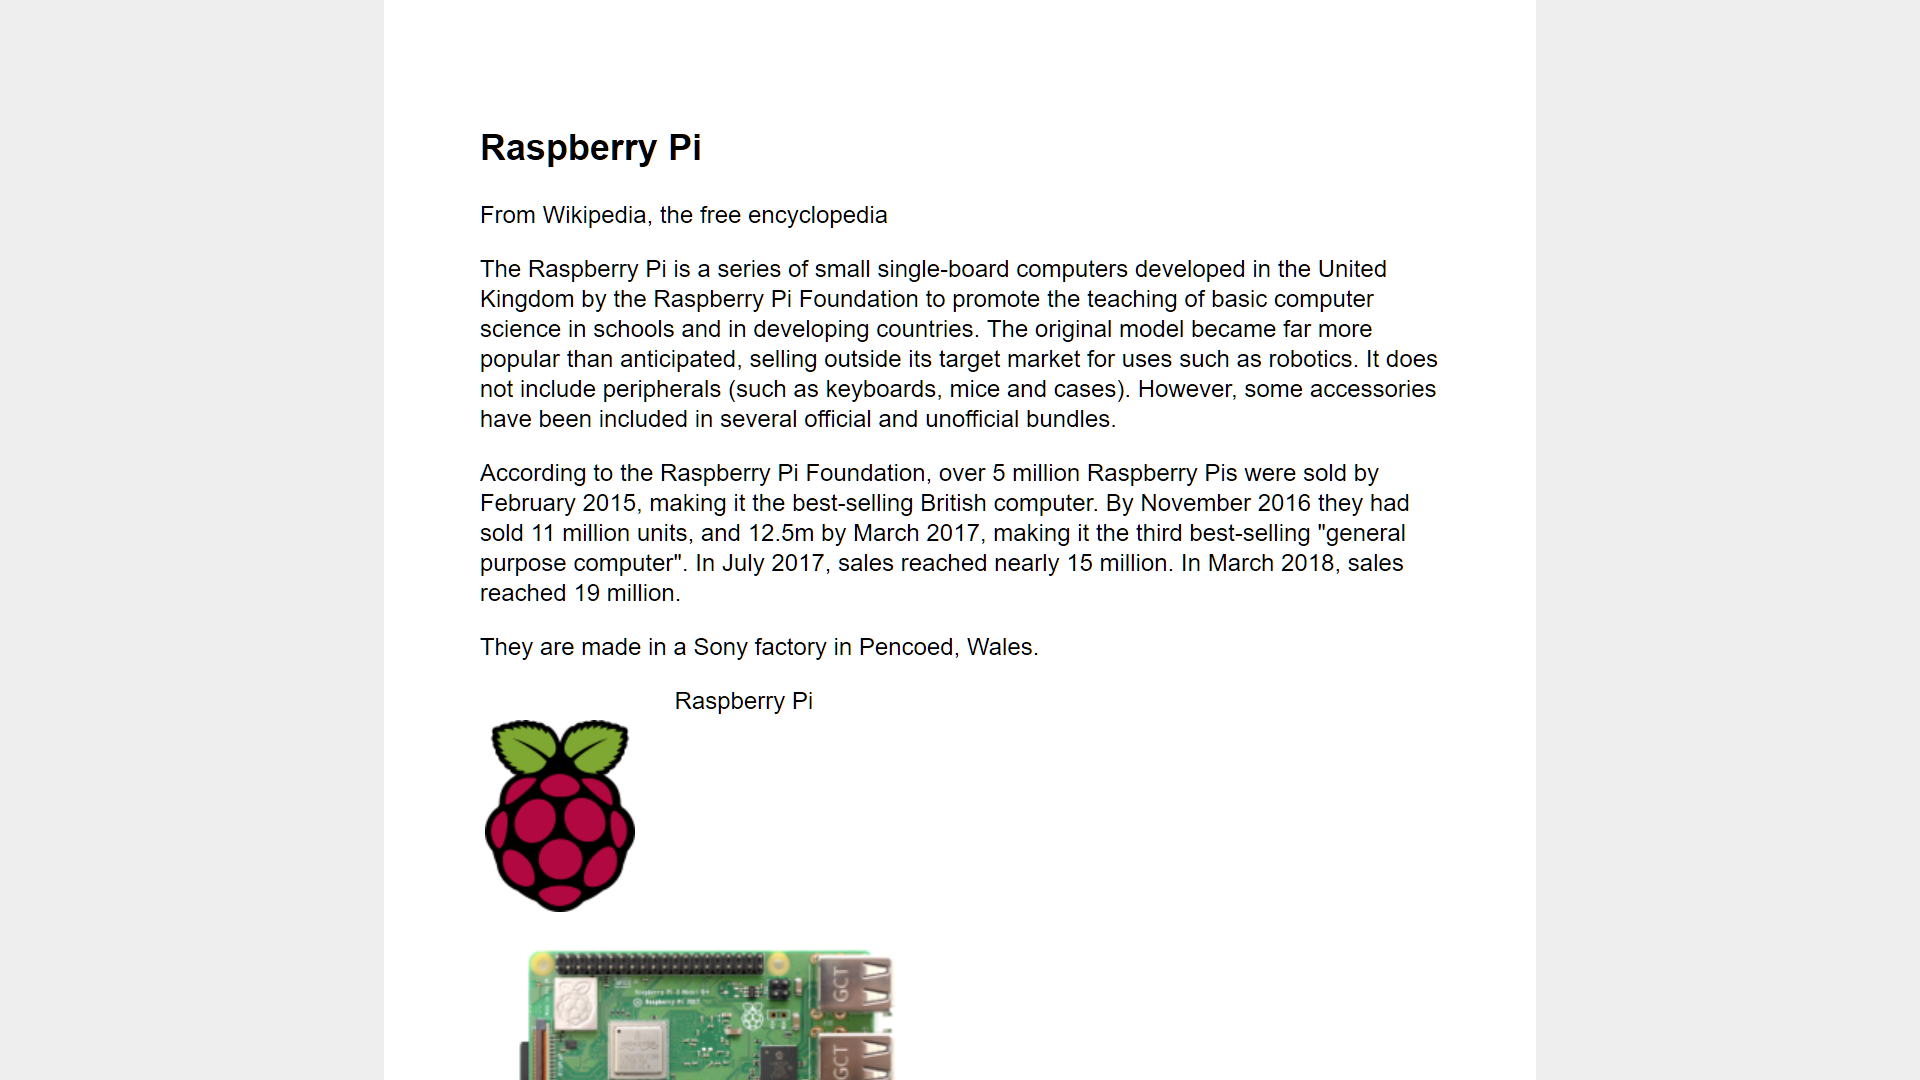
The page after adding html/body rules
Infobox Table
The infobox is a feature on many Wikipedia pages, it is a simple table that outlines many pieces of information about the subject. We won't go into the details of HTML tables today, but let's decorate a few parts of it.
We'll start by putting a border around the table, so it is clear where it begins and ends on the page. A CSS border has three properties; the thickness of the line, the style (solid, dashed, double, etc) and the colour. We'll also give it a background colour and center it in the page.
Next, we'll centre the images inside the table. We'll use the selector #infobox img, which selects any <img> tags inside the tag with id="infobox". We can use the same margin trick to centre images, but we need to change the display rule.
The list of operating systems uses a <ul> (unordered list) tag, which by default is shown as bullet points. Bullet points aren't needed in this case, so we can disable those with CSS as well. We'll also remove the padding that is used to make space for the bullet points.
Floating Images
On Wikipedia, images sit to the right of the text on the page. This is very easy to do with CSS with the float rule. We'll also add a border.
Wikipedia page with a completed stylesheet
4 Creating a Personal Homepage
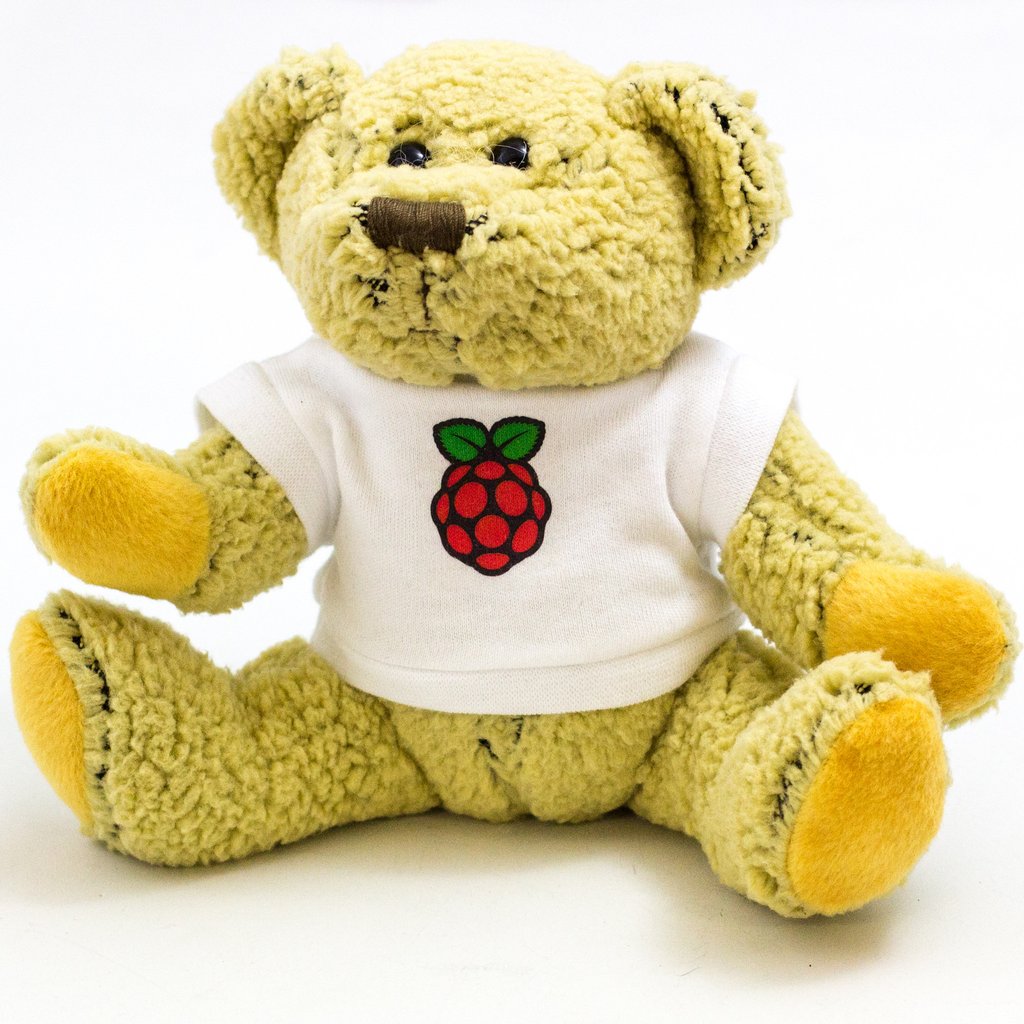
For our final webpage today, we'll be creating a personalised webpage. You can make it about yourself if you'd like, the version in the notes will be about Babbage the Bear, the Raspberry Pi's official mascot.
Page Layout and Header
First, we'll create a new blank HTML page, and add a simple header.
Now we'll create the stylesheet style.css. We need to conside what shape we want our page to be. The thin column we used for the Wikipedia page is great for long pieces of text, but our homepage will only have a small amount of text. Let's try centering our page in the middle of the screen
We've used the same margin: 0 auto; trick to center the page horizontally. To move the page down from the top, we've used a top margin of 25vh, which means 25% of the viewport (screen) height.
Let's add an image of our page subject. If you wanted to, you could use a Raspberry Pi camera to take a picture for your own page, but for now, there are some images from the Raspberry Pi website graphics in the img folder. Pick one you like, and add it as an <img> tag.
In our CSS, we'll select the image using header img and centre the image, set it's width to something smaller, and round the edges with the border-radius rule.
Section will be completed after the jam.